
Upload Requirements
How to upload your tracks to houseoftracks.com
You’ve finished a great track and now you want to sell it on houseoftracks.com? Congratulations!
This manual will take you through all the necessary steps in order to upload your tracks to houseoftracks.com successfully.
Every track needs to have 3 folders
1. Masters folder
2. Stems folder
3. MIDI folder
1. Masters folder
Your Masters folder has to contain:
The rendered versions of your track in WAV format:
- The mixdown version. This means you take all your stems and render them at full length. Make sure that your master chain is turned off for this.
- The mastered version. This will be the same as the unmastered version, only this time you will turn on your mastering chain while rendering your track.
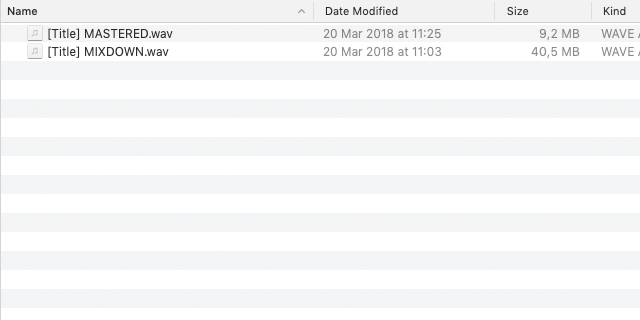
This is what your master folder should look like
Does your track contain vocals?
If your track contains vocals you need a total of 4 versions in WAV format:
- The mixdown version of the full track with vocals
- The mixdown version of the full track without vocals (instrumental)
- The mastered version with vocals
- The mastered version without vocals (instrumental)
For more information on vocals, scroll down.
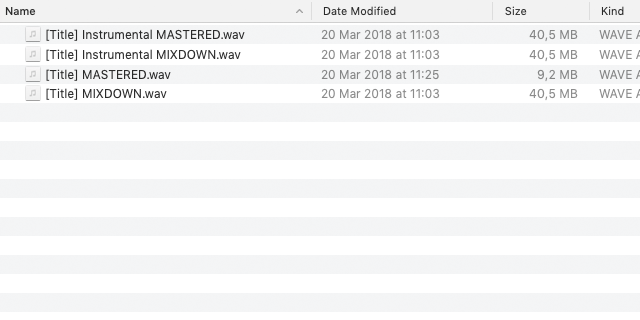
This is what your master folder should look like when your track contains vocals
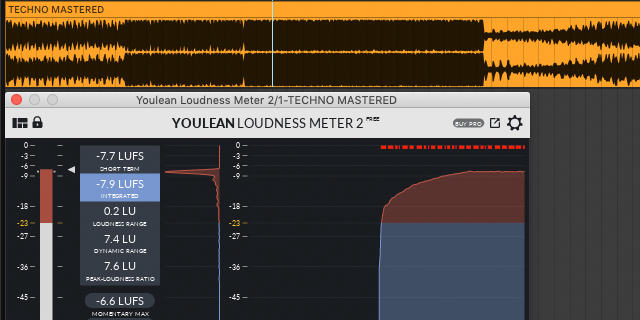
Make sure your track is loud enough
Make sure you keep an eye on your integrated loudness. Your integrated loudness should be between -9 and -7 LUFS. If you are not sure about how to measure your integrated loudness, you can download this free VST from Youlean.
Watch this short clip to see how you can measure the loudness of your track:
Subscribe for more HoT support video's
This is the Youlean Loudness Meter that you can use to check your loudness:
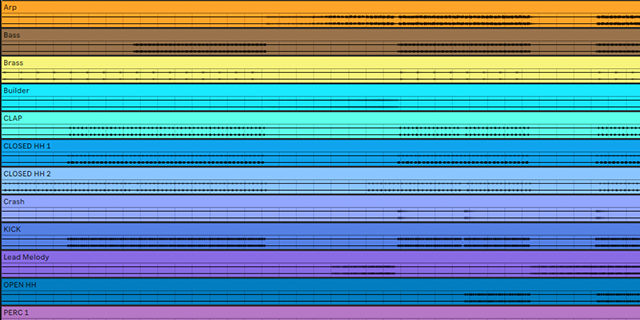
2. Stems folder
Your stems folder contains all individual parts of your track in WAV format.
- Make sure you separate your stems as much as possible.
- Don’t combine multiple instruments into one stem. For instance, you don’t want a stem that contains a baseline and a kick.
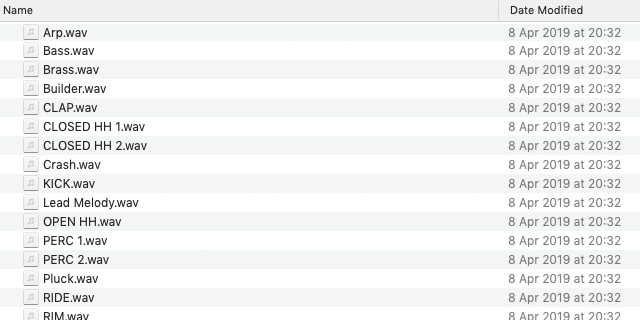
This is what your stems folder should look like
Top Loops to enhance your track
We do accept ‘Top Loops’. Top loops can only be used to enhance your track.
They can’t replace your drums. So, the main drums (kick and snare/clap) should at least be in separate stems.
Avoid muted tracks
When rendering your stems, make sure there aren’t any muted tracks. If there are muted tracks they will appear as empty stems and cause an upload error.
To check if there are no muted tracks, you can throw all of your stems in an empty project. This way you can easily check if all stems contain audio.
All stems must be rendered in the full length of the track
All stems should be rendered in the full length of the track. This means that if your track is 4:00 minutes long, all stems must be exactly 4:00 minutes long. Regardless of the amount of time the stem plays in your track.
All stems must be mixed, not mastered
All stems should be mixed, though they shouldn’t be mastered. When playing all stems at the same time they should directly result in the mixdown of your track.
Use correct names for your stems
Every stem should be named according to the audio they contain. Any extra info in the stems is not allowed. Do not use any metadata, brand names or artist names.
For example: a correct stem name is clap.wav.
An incorrect stem name is clap.yourname.2019.wav.
Wrong stem names
In short
- Stems should contain the individual instruments used in the track.
- Make sure all your stems are separate. Don’t mix multiple instruments into one stem.
- Top loops are allowed. Do make sure at least the main drums (kick and snare/clap) are separate.
- Avoid muted tracks and empty stems.
- All stems must be rendered in the full length of the track.
- The mix of the stems combined should result in the mixdown.
- Every stem has to be named correctly.
3. MIDI folder
MIDI file
Your MIDI folder should contain all MIDI information used in the track in MIDI.
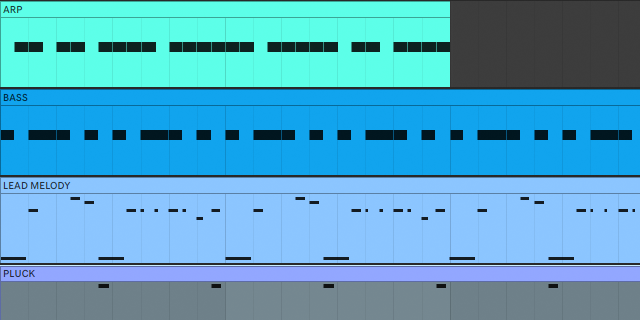
All MIDI information in separate MIDI files
We need all MIDI information in separate MIDI files. This means we can’t accept a single MIDI file with all MIDI elements in it, because some DAWs have issues when the MIDI information is delivered in this manner.
Use correct names for your MIDI files
Make sure all your MIDI files are named properly. Name them after the instruments they correspond to.
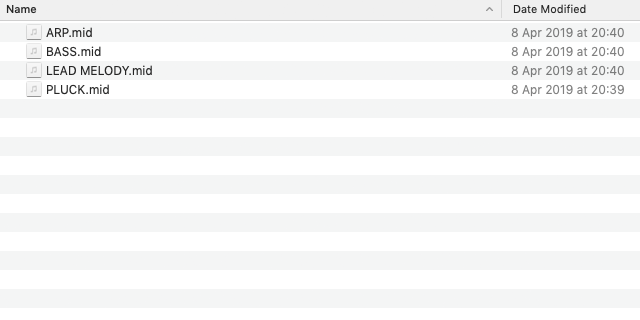
This is what your MIDI folder should look like
In short
- Your MIDI folder should contain all MIDI elements used in the track in MIDI type 1.
- MIDI information should be in separate MIDI files. Don’t combine instruments in a single MIDI file.
- MIDI files should be named properly, corresponding the stems.
Vocals
You are allowed to use vocals in your tracks.
Important to know when using vocals
- The vocals need to be from a royalty-free pack.
- Vocals extracted from YouTube, movies or any other source are not allowed.
When uploading vocals
We need the name of the vocal pack and an instrumental version of your track (mastered and a mixdown).
What counts as a vocal and what is allowed?
With vocals, we have to be quite strict.
- Needless to say, full vocals will count as vocals.
- Be aware that even shouts will count as vocals.
- Vocal chops in tracks are allowed. The melody of the vocal chops should be created by you.
- We don’t allow pre-made vocal chops.
Sample use
We accept:
We only accept one-shot samples and top loops. All melodies should be played by you, the producer.
We don’t accept:
- any samples that already contain a melody. Even if the samples are royalty-free.
- guitar loops
- full drum loops
- leads
- vocal chops
- bass lines